×
- Hello
- Login or Register
- Quick Links
- Live Chat
- Track Order
- Parts Availability
- RMA
- Help Center
- Contact Us
- Shop for
- Lexus Parts
- Lexus Accessories


My Garage
My Account
Cart
Genuine Lexus RX330 Steering Knuckle
Front Steering Knuckle- Select Vehicle by Model
- Select Vehicle by VIN
Select Vehicle by Model
orMake
Model
Year
Select Vehicle by VIN
For the most accurate results, select vehicle by your VIN (Vehicle Identification Number).
4 Steering Knuckles found
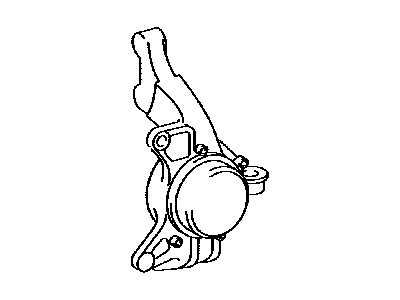
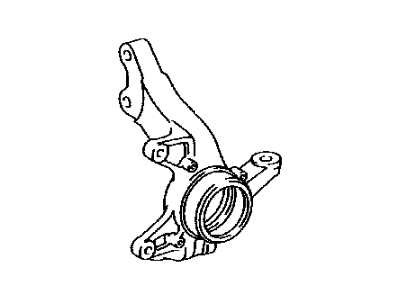
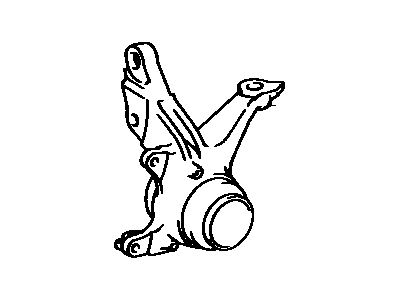
Lexus RX330 Knuckle, Steering, LH
Part Number: 43212-08020$328.79 MSRP: $455.74You Save: $126.95 (28%)Ships in 1-3 Business DaysLexus RX330 Knuckle, Steering, LH
Part Number: 43212-58020$349.91 MSRP: $485.02You Save: $135.11 (28%)Ships in 1-3 Business DaysLexus RX330 Knuckle, Steering, RH
Part Number: 43211-58020$376.43 MSRP: $521.77You Save: $145.34 (28%)Ships in 1-3 Business DaysLexus RX330 Knuckle, Steering, RH
Part Number: 43211-08020$339.83 MSRP: $471.05You Save: $131.22 (28%)Ships in 1-3 Business Days
Lexus RX330 Steering Knuckle
Should you need to purchase new auto parts for your vehicle, we strongly suggest you consider the genuine Lexus RX330 Steering Knuckle available on LexusPartsNow.com. Our OEM Lexus RX330 Steering Knuckle come with the reassurance of the manufacturer's warranty, a hassle-free return policy, and speedy delivery service, all at affordable prices online. Feel free to shop with confidence!
Lexus RX330 Steering Knuckle Parts Questions & Experts Answers
- Q: How to remove and install the driveaxle and steering knuckle on Lexus RX330?A:Before having the drive axle out, the drive axle hub nut and the wheel lug nuts must be loosened and the vehicle has to be raised and supported properly on jack stands before the wheel can be removed. Next it is necessary to loosen the wheel speed sensor from the knuckle and then remove the brake disc from the hub. While maintaining the bolts in position tighten them enough to free the strut from the steering knuckle arm but do not remove the bolts; unscrew the tie-rod end from the steering knuckle arm. Unscrew the Ball Joint-to-lower arml bolt and nuts to relieve the ball joint from the lower arm, pry the Control Arm with a pry bar to separate it from the ball joint. Here it is possible to unscrew the strut-to-knuckle bolts and to shift the drive axle away from the hub; it is recommended to thread a piece of wire over the end of the axle to keep it in place. Disconnect the steering knuckle from the strut, in case you have to eliminate the ball joint from the steering knuckle. For installation, position the knuckle and hub assembly to the right place and align the drive axle to the hub. Force the knuckle into the inner part of the strut flange, put on the bolts and nuts, but do not over tighten them at this stage. Place the nut ont the ball joint and bolt in the control arm then tighten it but halfway through in order to fix it. Connect the tie-rod to the steering knuckle arm and then torque the strut bolt nuts, ball joint to control arm bolt and nuts, and the tie-rod nut to the prescribed torque and replace all cotter-pin with new ones. Put the brake disc in the hub and tighten the caliper and the wheel speed sensor. Last, torque the drive axle/hub nut, final torque to be done once the vehicle is in the ground, then fit the wheels with the lug nuts, lower the vehicle ,and finally torque the lug nuts to the required torque. It is therefore necessary to fit the drive axle/hub nut in place, torque it to the necessary measure, and go on to staking the nut.


