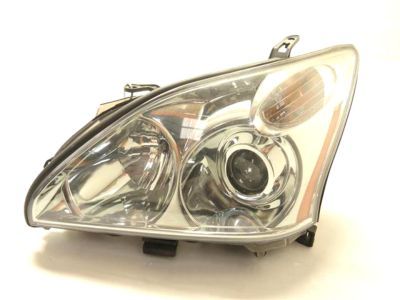
Some of these parts are the headlights that need to be aligned well to prevent causing an accident to the coming vehicles and for sufficient illumination in the roads that the vehicle will be operating. It is then recommended that the aim setting be checked at least once per year, or when addressing a new headlight, or front-end bodywork. The following is the procedure that can be tried in the meantime until an expert can conduct the correct alignment. All of the models described do not have the horizontal adjustment screws. To align the headlights, and therefore the front suspension, you will need some masking tape, a blank wall, and a level floor. First, place a masking tape on the wall standing vertically up to the height of the vehicle with the bottom end of the tape aligned to the center of the car and two parallel upper ends aligned to the center of the two headlights. Next, install another perpendicular tape line in relation with the center line of the headlights; this is easier if the car is parked few inches away. The car has to be 25 feet away from the wall in a flat ground and with half a tank of gas and no load to carry. To lower the beam setting for low beam, turn the vertical adjusting screw to place the high intensity zone two-inch below the horizontal line. In order to adjust the wheel clockwise or counter clockwise, use the tip of Phillips screw driver and insert it into the slit seen on the top of the wheel and twist accordingly. With the high beams on, make sure that the high intensity zone is right in the middle of the high beam low light band on the vertical line. Often times, the high and low beams cannot be aimed 100% accurately which calls for aiming the low beams, thereby ensuring the safety of drivers on the road most of the time. This should be corrected by a dealer service department or a service station as soon as is possible.